On This Page
Setting Up an Android Emulator to Intercept HTTPS Traffic via Burp Suite (MITM)
This article guides you through configuring an Android emulator to intercept HTTPS traffic via Burp Suite in a typical MITM testing setup.
Creating an Android Emulator with Root Access
1. Install Android Studio and open Virtual Device Manager.
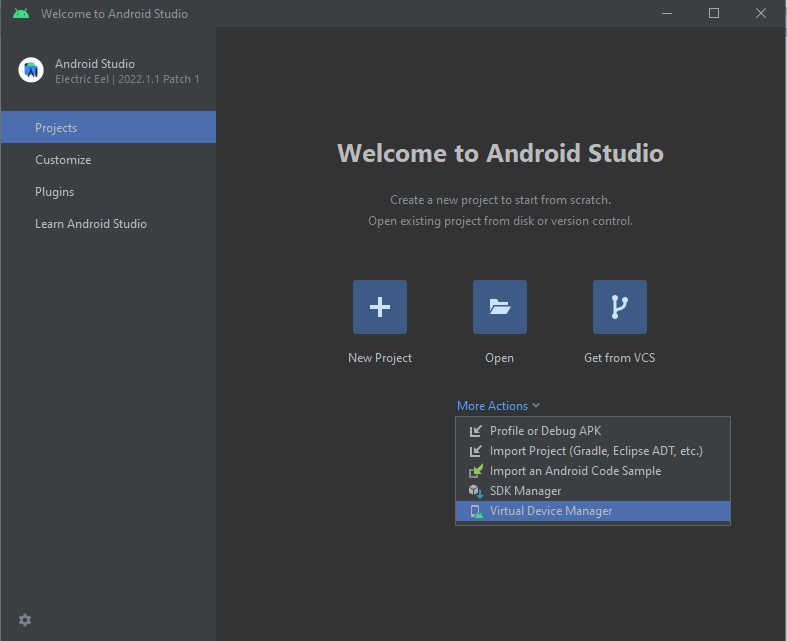
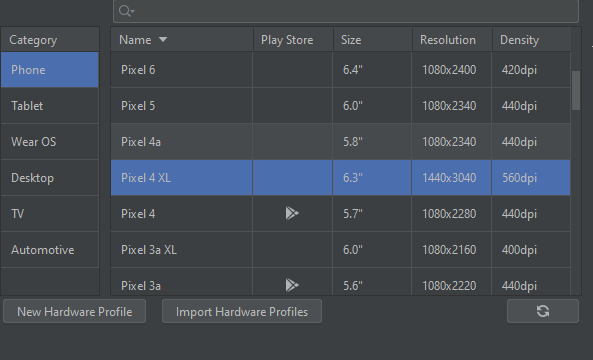
2. Click Create Device, choose for example Pixel 4 XL without Play Store.
3. Select any system image that includes Google Play APIs. I used Android 11.0 x86_64 API 30. Set the boot option to Cold Boot.
4. Download and unzip rootAVD, then open a terminal and go to the rootAVD directory:
git clone https://github.com/newbit1/rootAVD5. For Windows, run the following command:
rootAVD.bat %LOCALAPPDATA%\Android\Sdk\system-images\android-30\google_apis\x86_64\ramdisk.imgVerifying Root Access
You can use the root-checker app to confirm root access.
Download it from Google Play or install it manually as an APK.
To install manually, move the file to \Sdk\platform-tools and run:
adb install root-checker.apk
To run ADB from anywhere, add the \platform-tools folder (containing adb.exe) to your PATH.
To extract an APK file from the emulator:
Adding a Custom Certificate to Android’s Trusted Store
To properly intercept traffic (MITM), you need to add Burp’s certificate as trusted in Android.
1. Convert Burp's certificate to Android format:
openssl x509 -inform DER -in burp_cert.der -out burp_cert.pem
openssl x509 -inform PEM -subject_hash_old -in burp_cert.pem | head -1
Suppose the resulting hash is 1a2b3c4d. Rename the file:
mv burp_cert.pem 1a2b3c4d.02. Copy the certificate to the device. We can use adb to push the certificate, but since it needs to be placed in the /system partition, we must remount it as writable. Navigate to the directory containing 1a2b3c4d.0.
adb root
adb remount
adb push 1a2b3c4d.0 /sdcard/
adb shell
su
3. Create a temporary directory and back up current certs:
mkdir -m 700 /data/certs
cp /system/etc/security/cacerts/* /data/certs/
4. Move the certificate to the system store:
mv /sdcard/1a2b3c4d.0 /system/etc/security/cacerts/
mv /data/certs/* /system/etc/security/cacerts/
chown root:root /system/etc/security/cacerts/*
chmod 644 /system/etc/security/cacerts/1a2b3c4d.0
chcon u:object_r:system_file:s0 /system/etc/security/cacerts/*
Problem: Read-only file system?
!!! If the step:
mv /sdcard/1a2b3c4d.0 /system/etc/security/cacerts/throws a Read-only file system error, you can work around it (this works, but certs will not persist after reboot):
adb root
adb remount
adb push 1a2b3c4d.0 /sdcard/
adb shell
su
mkdir -m 700 /data/certs
cp /system/etc/security/cacerts/* /data/certs/
mount -t tmpfs tmpfs /system/etc/security/cacerts
mv /sdcard/1a2b3c4d.0 /system/etc/security/cacerts/
mv /data/certs/* /system/etc/security/cacerts/
chown root:root /system/etc/security/cacerts/*
chmod 644 /system/etc/security/cacerts/1a2b3c4d.0
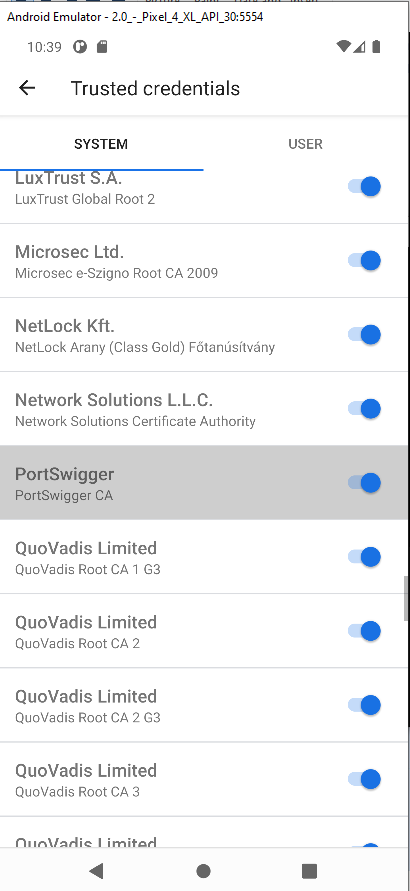
chcon u:object_r:system_file:s0 /system/etc/security/cacerts/*The user certificate will now appear in the trusted certificate store.
Alternative: Magisk Module
The MagiskTrustUserCerts module allows you to add trusted certificates without manually copying them. However, stability depends on the Magisk version and your system image.
Intercepting Traffic with Burp
1. Make sure Burp Proxy is enabled on port 8080, and determine your internal IP address.
2. Open the Android emulator’s network settings and set the proxy to point to your Burp instance.

Now your emulator has root access, trusts the Burp certificate, and sends all traffic through the proxy — allowing you to inspect HTTPS requests from applications.
Published on Jul 22, 2025